How to Culture Microworms for Fish Fry
Live foods are extremely useful when breeding fish because their enticing movements encourage the babies to eat and grow at a faster rate. However, some fish (such as betta fish, ram cichlids, and rainbowfish) produce miniscule offspring that are too small to eat traditional fry foods like live baby brine shrimp or crushed flakes. Instead, you can easily start a culture of micro, banana, or walter worms to keep the babies happy and healthy.
What Are Microworms?
A “micro worm” is a common name for a nematode or roundworm found in the Panagrellus genus. The most popular types used in the aquarium hobby are (in order of smallest to largest):
- Banana worms (Panagrellus nepenthicola)
- Walter worms (Panagrellus silusioides)
- Micro worms (Panagrellus redivivus)
They range in size from 1-3 mm in length and roughly 50-100 microns in diameter, which is slightly bigger than vinegar eels. (By comparison, newly hatched brine shrimp are 450 microns in size, so even the tiniest fry can slurp down nematodes like noodles.) Female roundworms reach maturity when they are 3-4 days old and can produce 300-1000 live young in their lifetime, depending on the species.

Close-up of banana worm versus micro worm starter cultures
How to Start a Micro Worm Culture
Banana, walter, and micro worms are almost identical in their care requirements, so the rest of the article refers to all three types of roundworms generically as “microworms.” Do not use the following instructions for grindal or white worms, which are annelid worms and need a different kind of setup.
- Gather the following materials:
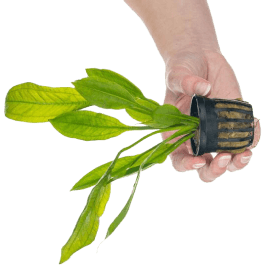
- Starter culture of banana, micro, or walter worms (purchased from a fish club auction, local fish store, AquaBid.com, or other online source)
- Box of plain instant mashed potatoes (without any extra flavoring)
- Several small plastic tubs or deli containers, about 5 inches (13 cm) in diameter or larger, with taller sides and tight-fitting lids
- Dechlorinated water at room temperature

- Add a 0.5-inch (1.5 cm) layer of mashed potato flakes to cover the bottom of the plastic container. Keep adding a little bit of water and stirring the mixture until you get the consistency of light and fluffy mashed potatoes. The mixture should not be too dry and crumbly nor wet and soupy.
Note: In our experience, adding yeast does not seem to help or hinder the growth of the culture. Also, we prefer to use instant mashed potatoes or baby cereal because they don’t produce a smelly odor like oatmeal and some other mediums do.

- Pat down the mixture until it is spread evenly in the container and then add a spoonful of the starter worm culture. Spread the worms out onto the medium.

- Cut a small hole (approximately 1 cm x 1 cm) in the center of the lid using a razor blade or even a hole puncher so that the roundworms have air to breathe. Cover the hole by taping on a small patch of fabric or stuffing it with a wad of filter floss. This prevents flies or other pests from entering the container. Close the container.
Note: If you are making a larger worm culture in a whole tray, some people put the whole tray in a pillowcase rather than covering all the holes in the lid.

- Label the culture with the type of roundworm you’re using, as well as the date it was created because the cultures have an expiration date (see below). The container can be stored at room temperature.
- Repeat Steps 2-5 to create multiple microworm cultures, just in case one of the cultures crashes. The medium may become spoiled, moldy, infested by bugs, or filled with worm waste, so it helps to have some backups to work with.
How to Harvest Microworms to Feed Fish
Some of the worms will start climbing out of the medium and up onto the walls, making it easy for you to collect them. Simply use your fingertip, a cotton swab, or a cheap children’s paintbrush to wipe along the sides of the plastic tub. Dunk the worms directly into the tank to feed the fish. The micro worms live approximately 8-12 hours in water, so do not overfeed to avoid water quality issues. It’s okay if a little potato mixture gets into the aquarium because the omnivore fish will eat it along with the roundworms.

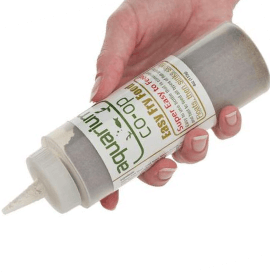
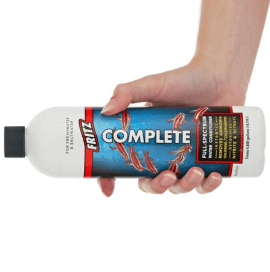
Hobbyists have learned that only feeding microworms can sometimes lead to deformities, either from nutrient deficiencies or water quality issues, so make sure to supplement your fish’s diet with other high-quality foods like Hikari First Bites and Easy Fry and Small Fish Food.
How to Maintain the Micro Worm Culture
Over time, the culture becomes more and more filled with worm poop, making the medium very runny in consistency. Make a new culture by repeating Steps 2-5 from the above section and adding one spoonful of worms from the old culture. Once the fry are large enough, we highly recommend switching over to live baby brine shrimp because of high protein, fat, and nutrition content. Learn about how to hatch your own brine shrimp in the article linked below.