
When people find out you keep fish, they probably imagine a crusty, algae-coated tank where you can barely see anything swimming inside. But with just a few easy steps, you can keep your aquarium looking like a beautiful work of art. Follow along as we share our top tips for cleaning your fish tank like a pro.
Before You Get Started…
There are several frequently answered questions we often hear from beginners, so let’s address those first:
How often do you need to clean a fish tank?
Some people say once a week, while others say once a month. The real answer is that it totally depends! Several factors include the size of your tank, how many fish you keep, and how much biological filtration (e.g., beneficial bacteria and live plants) you have. Fortunately, we have a free guide to help you figure out exactly what frequency is right for your aquarium.
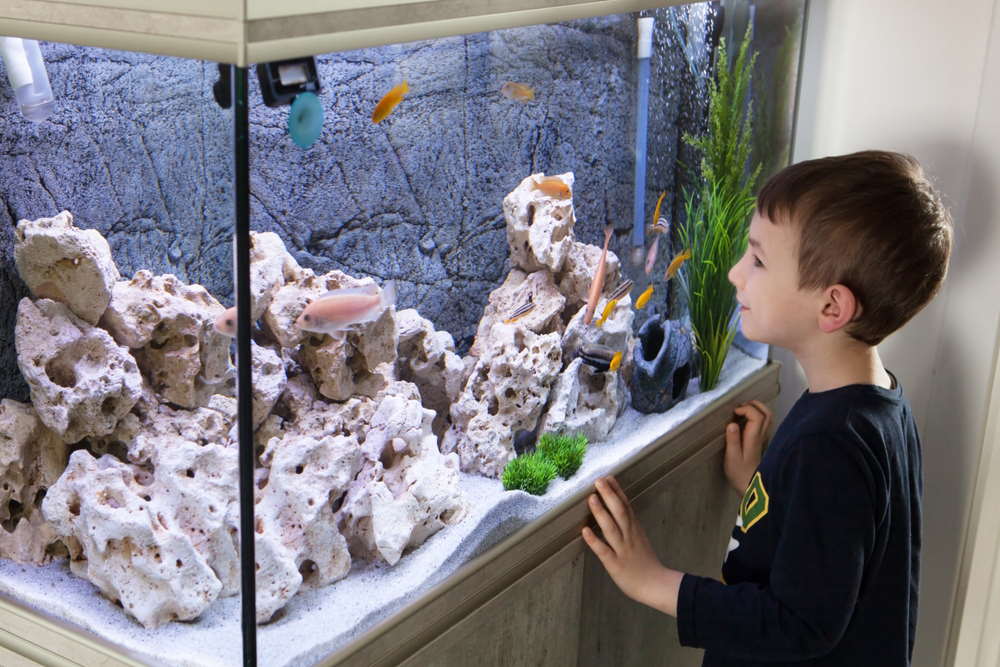
Do you take the fish out of the tank when cleaning?
No, go ahead and leave your fish in the aquarium. You won’t be completely draining the aquarium, so there will be plenty of water left for them to swim in. Also, the process of catching them is more stressful for the fish than slowly cleaning around them.

There’s no need to catch the fish before cleaning an aquarium because it will only cause undue stress.
How long do you let water sit before putting fish in?
This old school piece of advice comes from the fact that municipalities often put chlorine in tap water (which is lethal to fish), but if you let the water sit out for 24 hours, the chlorine evaporates. Nowadays, chloramine (a more stable form of chlorine) is often used in tap water, and it does not evaporate over time. Instead, you need to dose water conditioner to make the water safe for fish, and then you can immediately use the dechlorinated water for your aquarium with no wait time.
What cleaning supplies do you need to get?
If this is your first aquarium, you may need to collect some tank maintenance materials, such as:
- Ammonia test strips and multi-test strips
- Bucket for holding dirty tank water
- Algae scrubber
- Toothbrush for cleaning algae off decor or plants
- Scissors for pruning plants
- Dechlorinator (also known as water conditioner)
- Glass cleaner
- Towel for wiping up water spills
- Glass-cleaning cloth or paper towel
- Aquarium siphon (also known as a gravel vacuum)
(As an Amazon Associate, we earn from qualifying purchases, and commissions may be earned from the link above.)
How to Clean Your Aquarium
Now that we’ve cleared up some confusion about tank maintenance, here is a step-by-step guide for you to follow on a regular basis:
Step 1: Test the Water Quality
If your aquarium is newly established and has not been cycled yet, you need to test the water to determine if it has 0 ppm ammonia, 0 ppm nitrites, and less than 40 ppm nitrates. (For more info, find out how to cycle your aquarium.) Higher levels of these waste compounds can be dangerous for fish.
If your aquarium is already cycled, then the goal is to keep nitrate levels below 40 ppm. Measure the nitrates using water test strips to determine how much water should be removed and if other steps need to be taken (based on our free guide to water changes).

Test strips are an easy way to help you determine if there are toxic levels of nitrogen waste compounds in the aquarium.
Step 2: Remove Algae
In order to maintain a clear view of our fish, scrub the tank walls with an algae scraper. If you have the blade attachment, it should be very easy to slice through any tough algae spots. Just make sure not to catch any substrate underneath the algae scraper, or you may end up scratching the glass or acrylic.
If algae has grown on the lid, you can easily rinse it off in the sink. (Don’t use soap or it may harm your fish.) Finally, if algae covers your aquarium decor, rocks, or plants, try using a clean toothbrush to gently brush it off, either over the sink or in the aquarium. Read our article on how to get rid of algae for more tips and tricks.
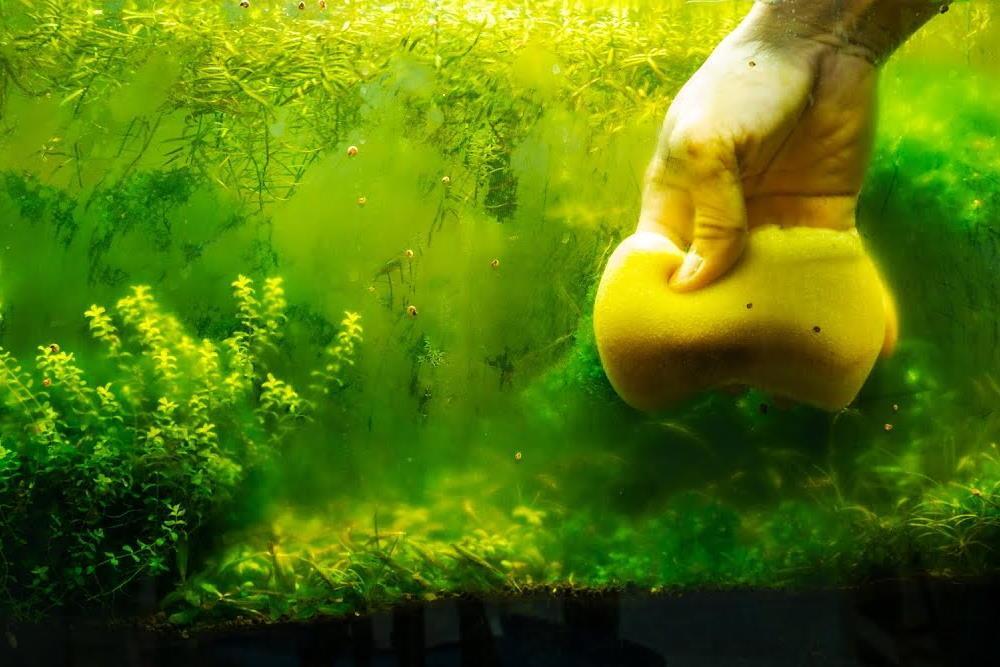
Keep algae under control by regularly removing it and balancing the lighting and nutrient levels in your aquarium.
Step 3: Prune the Plants
If you keep live aquarium plants, take this time to remove any dead leaves and trim down overgrown foliage. If you have tall stem plants, you can easily propagate them by cutting a few inches off the tops and replanting them into the substrate. If your vallisneria or dwarf sagittaria are spreading into unwanted areas, pull out the little runners and move them elsewhere. Lastly, if floating plants have completely covered the entire water surface, remove about 30% to 50% of them so that the plants below get enough light and the fish get enough oxygen.
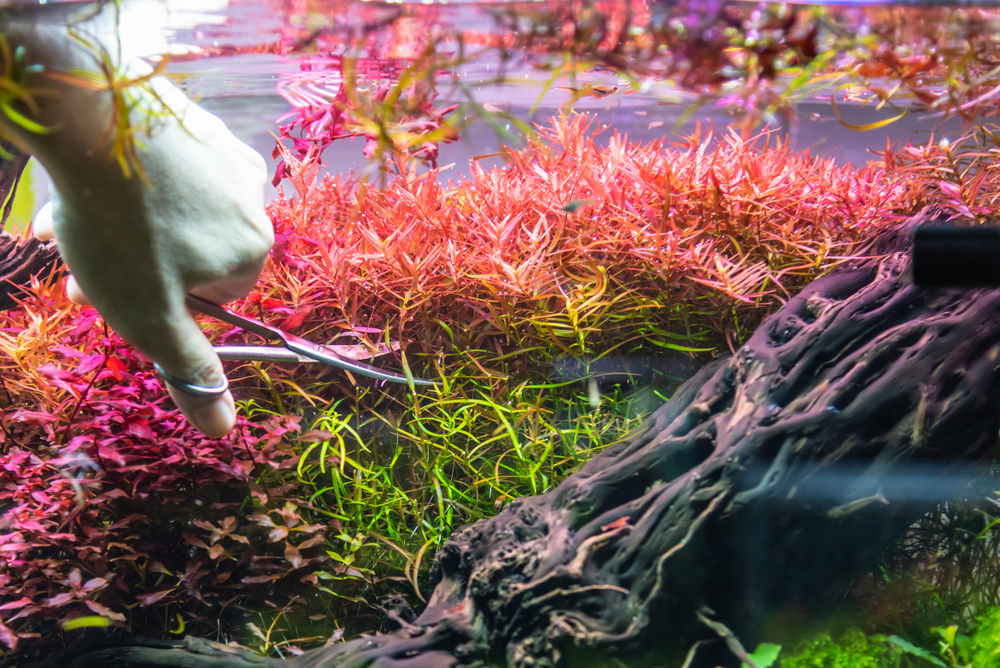
Pruning helps plants to focus on delivering nutrients to the healthiest leaves, and it also allows light to reach leaves at the bottom of the stems.
Step 4: Turn off Equipment
Before removing any water, make sure to turn off or unplug all equipment. Aquarium heaters and filters are not meant to operate without water and therefore can become damaged when running in dry air.
Step 5: Vacuum the Substrate
Take out your nifty aquarium siphon and vacuum approximately one-third of the substrate. Move any decorations or hardscape as needed, since debris tends to collect underneath them. The siphon serves the dual purpose of not only removing fish waste, uneaten food, and dead leaves from the gravel or sand, but also removing old tank water and the excess nitrates in them. Check out our gravel vacuum article for detailed instructions on how to start a siphon (and how to stop it if you accidentally suck up a small fish).
Siphons are one of the most useful tools for easily changing water without having to use a cup or pitcher.
Step 6: Clean the Filter
At least once a month, you should clean the filter. Many beginners think of filters like a black hole where fish poop and detritus magically disappear from the water. In reality, filters are more like trash cans that collect waste, but at the end of the day, someone is still responsible for taking out the trash can. In the same way, filters collect fish waste, but you must still regularly clean it to remove all the gunk before the filter gets clogged up or overflows.
If you have a hang-on-back, canister, or corner box filter, the easiest way to maintenance it is to swish around and wash the filter media in your bucket of recently removed tank water. (Again, do not use soap, just water.) If you have a sponge filter, remove the foam portion and wring it multiple times in the bucket of old tank water. For more details, read the last section of our sponge filter article.
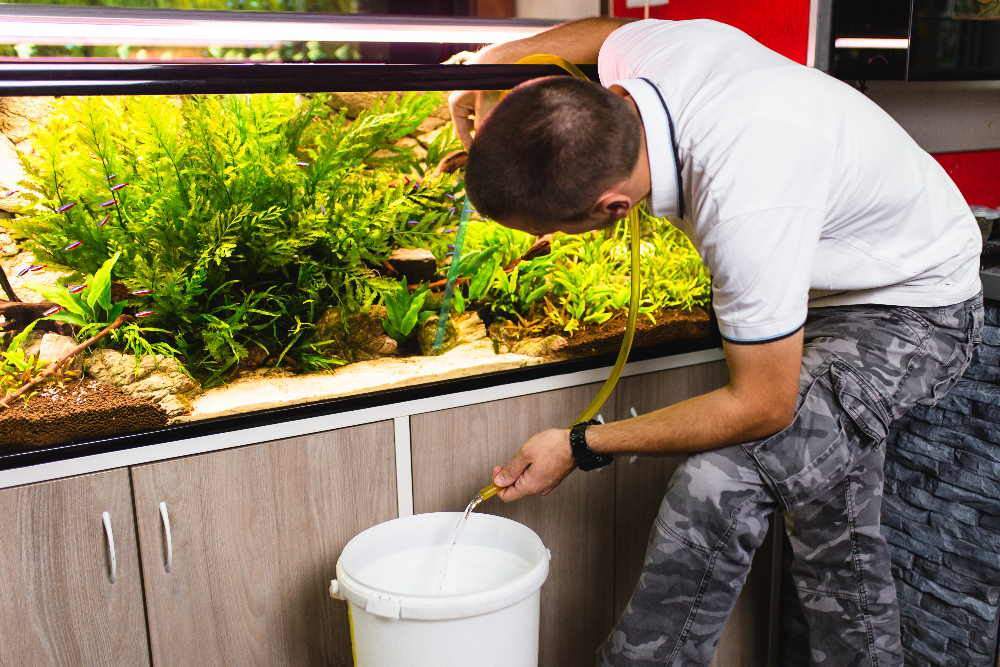
Step 7: Refill the Water
At this point, you can finally refill the tank with fresh, clean water that matches the temperature of the existing aquarium water. Human hands are able to detect temperatures within one or two degrees, so just adjust the faucet until the tap water feels like it has the same amount of warmth. Empty out the bucket of old tank water (which can be used to feed indoor and outdoor plants), and refill it with tap water. You can either add dechlorinator into the bucket (dosed based on the bucket’s volume) or directly into the tank (dosed based on the aquarium’s volume). This is also your chance to add liquid fertilizer and/or root tabs for the substrate.
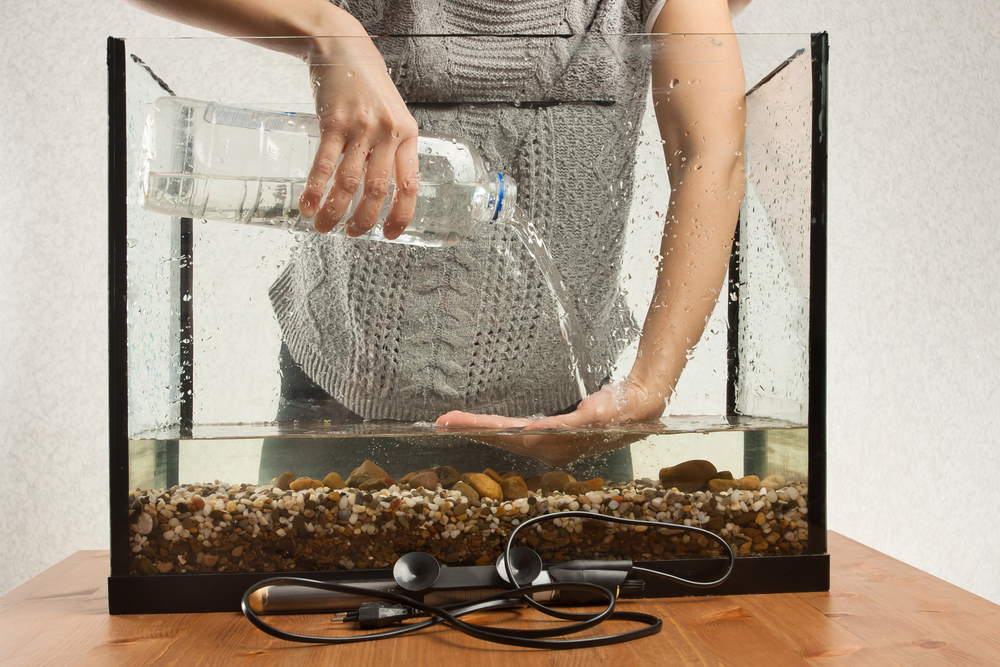
If you’re worried about messing up your aquascape or substrate, pour the new water into the aquarium through a colander or onto another solid surface (like your hand or a plastic bag) to lessen any disturbances.
Step 8: Turn on Equipment
Although you just spent all this time cleaning the tank, it probably looks dirtier than ever with all that particulate clouding up the water. Not to worry – turn on the heater and filter again, and within an hour or so, the debris will settle down or get sucked up by the filter.
Step 9: Wipe the Glass
For that extra, crystal-clear finish, wipe down the outside walls of the tank with aquarium-safe glass and acrylic cleaner to remove any water spots and smudges. Also, clean off the dust that has collected on the lid, light, and aquarium stand. Now you have a truly Instagram-worthy aquarium ready to wow your friends and family!
Enjoy the fruits of your labor by spending hours staring at your happy and healthy fish.
Subscribe
Get weekly aquarium blog articles right in your inbox.
Recent Blog Posts
Featured Products


